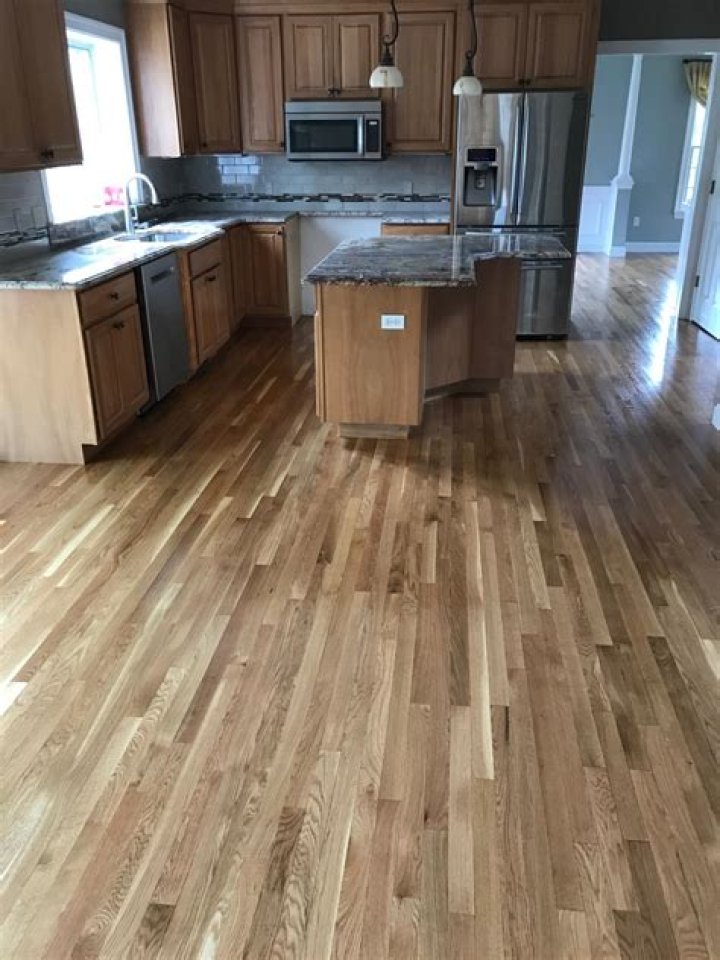
Can you nail through groove

Mia Morrison
Published May 01, 2026
Problems with Nailing the Groove To nail the groove, you must nail by hand, but you have a very small space in which to work. In addition, you must countersink every nail to avoid interfering with the tongue of the next plank. For most applications, this isn’t feasible or desirable.
What side of hardwood do you nail?
Begin your nailing from the left side of the room and always do your nailing from left to right across the floor. Use a rubber mallet to tap the boards tightly into place. To nail your flooring, strike the plunger at the top of the nailer with the rubber mallet.
Where do you start tongue and groove flooring?
Start at the corner of the room and place the first board with the tongue facing toward the wall. Be sure to leave a gap of about a ½-inch so the floor has room to expand and contract. 5. Place the second board next to the first so the shorter ends touch, and pull the second piece as close as possible.
Which way does tongue and groove go?
Traditionally the thicker side goes to the top to allow for a greater thickness to be worn away before reaching the tongues and grooves, this is of course from the days when floorboards were likely to be the finished surface.How do you fasten tongue and groove decking?
For installation, we suggest that you pre-drill a hole on a 45-degree angle where the tongue and the face meet. You will see a slight v-groove in this corner. Then, on that same 45-degree angle, drive a trim head screw through the pre-drilled hole, through the deck board into the floor joist.
How do you nail down the first row of hardwood floors?
Nail Down the First Row of Flooring Position your first board so its edge is up against the chalk line. Then, use a nail gun to secure it in place. Continue laying and nailing boards parallel to the starting line until your first row is finished. We recommend using 2-inch flooring cleats or 2-inch staples.
How tight should tongue and groove be?
All it takes is 1⁄8″. The joint should be a firm press fit: If you have to knock the pieces together, then struggle to pull them apart, the joint’s too tight. A tongue that’s a hair too fat for the groove may actually seat, but it will stress the groove sidewalls and may, in time, prompt them to split.
Do you glue tongue groove gate?
Tongue and Groove construction allows two pieces of wood to form a strong joint without the need for fasteners or glue. … This is a paramount process in building a wooden gate that will stand the test of time.How far apart should nails be on hardwood floors?
Install one complete row at a time from end-wall to end-wall. Place at least two nails in every board — the rule of thumb is to nail every 10 to 12 inches. Flooring is typically bundled in random lengths. Vary board lengths as you install so you will have staggered end-joints in a random pattern (image 6).
Should you paint tongue and groove before or after installation?Finish tongue and groove boards before installation But if you apply finish before installation, the tongues will be completely finished—no unfinished stripes to appear later! You could also opt for paint to finish your boards for a white shiplap ceiling look.
Article first time published onHow do you stop the shiplap on an outside corner?
Depending on whether it is an inside or outside corner, you may want to finish them differently. We recommend either using corner trim or butt-jointing boards together at an angle. An unfinished corner can draw unwanted attention, so you’ll want to make sure they are finished properly without any gaps.
How do you install shiplap inside corners?
To install around windows, doors, outlets and such, cut holes in the shiplap boards using a jig saw to enable it to fit around the obstacle. Caulk all the corner seams and verify all nail holes are filled. Sand all of the walls smooth, prime and paint. Lastly, install floor and ceiling trim.
How do you fill gaps in tongue and groove flooring?
You can use putty, wood filler, caulk, or even long pieces of string or rope stained to match. These methods not only fix the gaps but can also prevent drafts from coming up through the floor. If done correctly, these fillers – made of putty or paste – can fill in gaps to give your floors their original smooth finish.
How do you cut a tongue and groove floor?
Use a hammer and chisel to chop through the damaged floorboards. At the end joint, use the hammer and chisel to cut straight down and through the tongue at the end of the damaged floorboard. Use the chisel to pry the severed tongue from the groove in the end of the adjacent floorboard.
What screws for tongue and groove?
Minimum size recommended – #7 x2” stainless steel trim head screw. Manual or pneumatic floor nailers will work as well. When using floor nailer use stainless steel 2” serrated T nails.
Can you use tongue and groove flooring outside?
Can you use tongue and groove flooring outside? Tongue and groove flooring can definitely be used outside. That being said, due to the way the pieces fit together, there will not be a lot of room to allow moisture through.
Is tongue and groove necessary?
Tongue and groove gives added support at the seems and makes for a more solid floor. If it was not tongue and groove, you could possibly step hard enough around a seam in the plywood and see the seams separate a bit. Plus, tongue and groove will help force a more level floor. Leaks have no bearing on why they are used.
How do you start the first row of tongue and groove?
Mark the first row by placing the groove side of a board against the wall near a corner, leaving a gap of approximately 3/16 of an inch between the board and wall. Mark the subfloor on the tongue side and measure the distance between the mark and the wall.
Do you have to nail down hardwood floor?
Solid hardwood floors must be fixed into position by either gluing or nailing down to the subfloor. … However, if you are planning on fitting your hardwood floor to joists, then you will need to secret nail them into place.
How are the first two rows of hardwood nailed to the floor?
Face-nail the entire first row and remember to keep the board lengths random. It is important to face-nail the first row because the pneumatic nail can’t get down in there. It will hit the wall and the force would push the wood against the baseboard, which would lose the 3/8″ expansion and contraction.
Is it better to nail or staple hardwood floors?
A staple will give a stronger, less-forgiving hold because of its two-pronged construction. Nails allow for a more natural expansion and contraction of the hardwood floorboards with fewer problems. … While staples have become increasingly popular over nails, they tend to damage the floors more often.
How long should flooring nails be?
A good rule of thumb for nail length is 1 1/2-inch nails for 1/2-inch-thick flooring, and 1 3/4-inch nails for 3/4-inch-thick flooring. Always follow the flooring manufacturer’s recommendation, however.